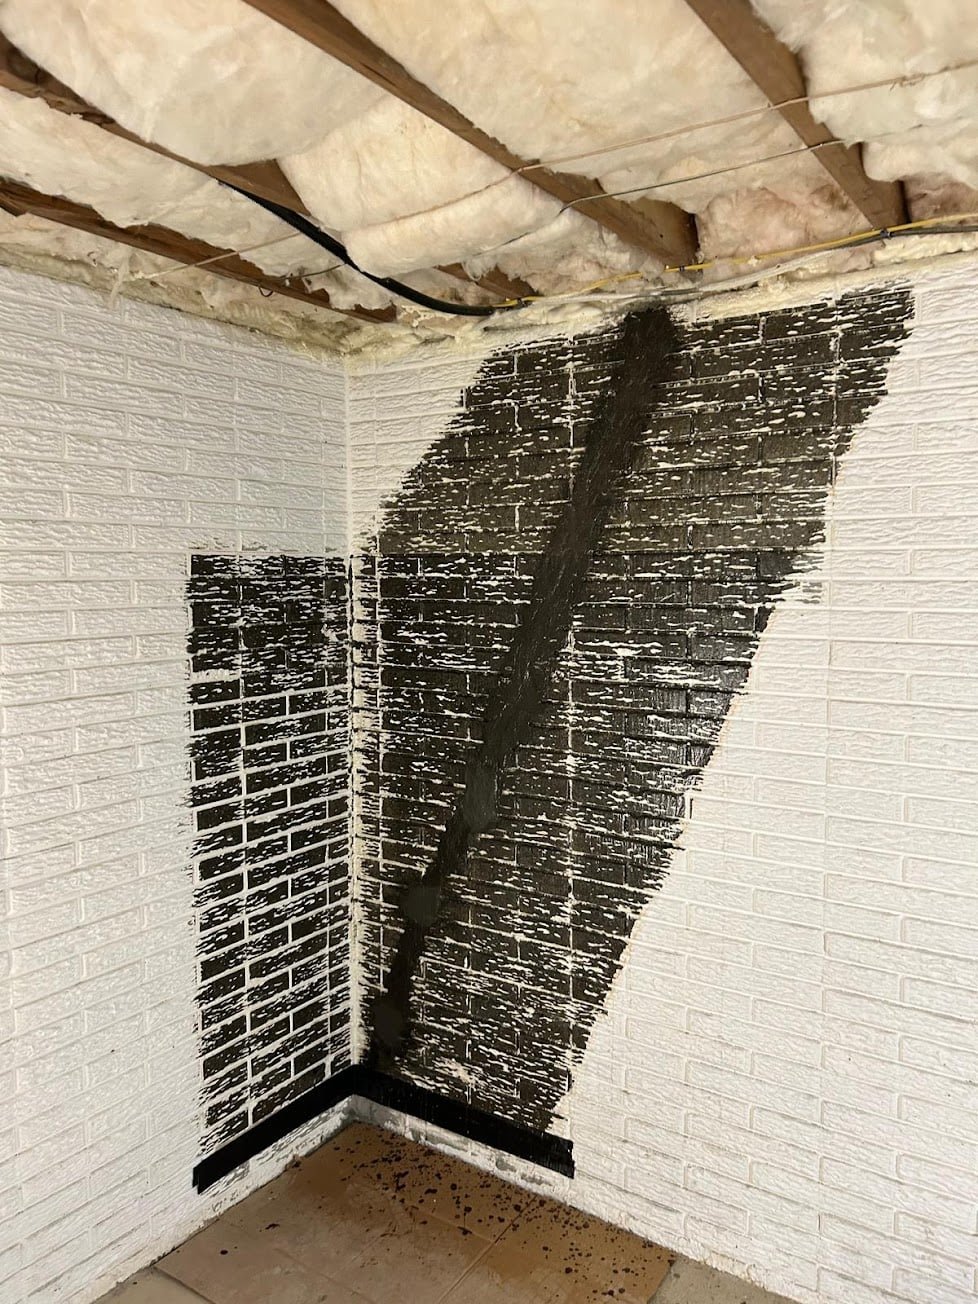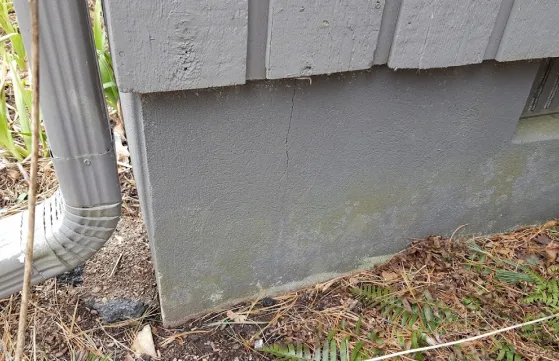

It's generally better to take action when you see a foundation crack in your basement before it worsens. In their lifespan, over one-fourth (25%) of all homes will develop structural deterioration, such as a foundation crack. However, if you don't take the problem seriously, your house could become one of the 7% that has serious structural trouble.
You don't want to be a part of that 7%. Let's cover how to use epoxy, the best and most cutting-edge way, to rebuild a basement foundation crack.
How to Fix Foundation Cracks in Your Basement
1. Recognize the crack
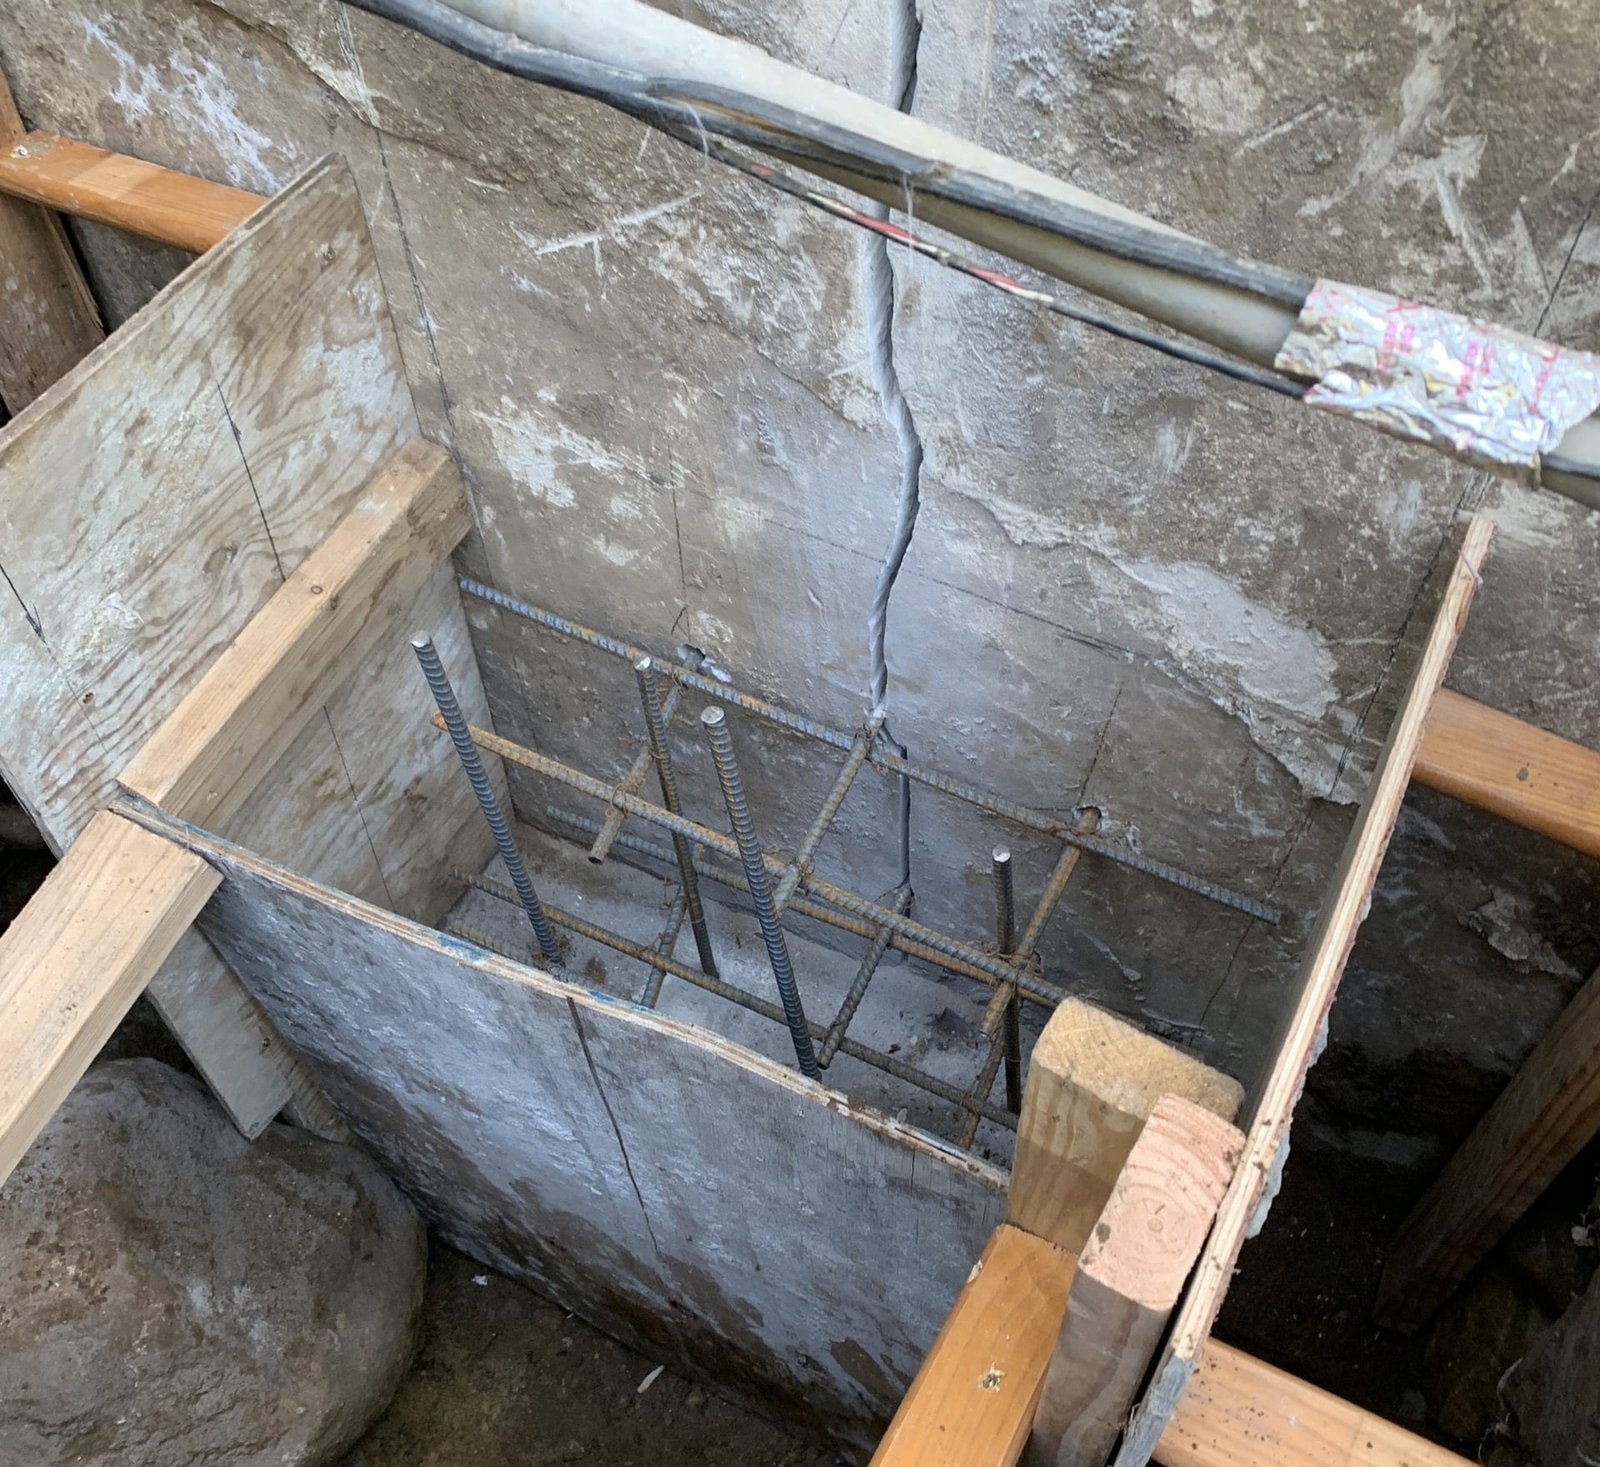
Diagnose the crack to decide whether to employ a professional or attempt DIY. There are many different forms, sizes, and dangers. The majority of the time, cracks appear at windows and corners within the first year of construction, they result from concrete drying and the volume shift caused by water leaving it.
2. Get ready to fix the crack
If you're a DIYer, only consider this foundation repair technique if your vertical crack is 1/8" or smaller. Anything else, get in touch with a professional, it could be a bigger issue than it looks.
3. Align injection ports with nails
Drive 10D finishing nails into the spots where you want the injection ports, spaced about 12 inches apart. This ensures the epoxy is evenly distributed for later injection.
4. Mix the epoxy sealant
Most kits (like the Polygem Liquid Concrete Repair Kit) come with two epoxy crack sealers marked separately. Place a generous amount of each on a scrap board or container, then blend with a clean putty knife until the color is consistent gray.
5. Connect injection ports to the nails
Put the injection ports where you tapped the nails. Apply a tiny amount of epoxy sealer at the bottom of each port to seal it to the foundation.
6. Fill up the crack with the epoxy mixture
Use the mixed epoxy sealer to fill the crack and the base of the injection ports. Spread about 1/8" of the mixture in, around, and on the ports with a wide, clean putty knife. Smooth over with a paintbrush dipped in spirits for a cleaner finish.
7. Fill the injection ports with epoxy
Wait 6–10 hours for the base sealer to cure, then load the LCR epoxy (looks like a silicone tube) into a skeleton gun. Starting from the bottom port and working up ensures uniform distribution of epoxy through the wall.
8. Block the injection ports to make them airtight
Fill each port then seal it off with the included inserts. This prevents epoxy from escaping and speeds up the cure.
9. Remove the injection ports
After about five days, remove the spouts from the ports with a hacksaw. Fill the severed ports with a bit of crack sealant for a clean finish.
The approach above is the simplest and safest for DIY, but only for hairline vertical cracks on poured concrete. Concrete is frequently (and incorrectly) used by amateur contractors to seal larger foundation cracks. Don't copy them. If you feel any uncertainty, contact a professional.
Raf Volkov
Raf has personally inspected and supervised more than 1,300 foundation repairs across Fairfield County, CT and Westchester County, NY since 2002. He attends World of Concrete and manufacturer trainings every year, currently holds 60+ active industry certifications, and works with a scientific background spanning microbiology, toxicology, and structural engineering — applied to every wall, slab, and footing we touch.
Got a crack that needs a real diagnosis?
We service Fairfield County CT and Westchester County NY. Free on-site inspection, honest root-cause diagnosis, written quote, no obligation.